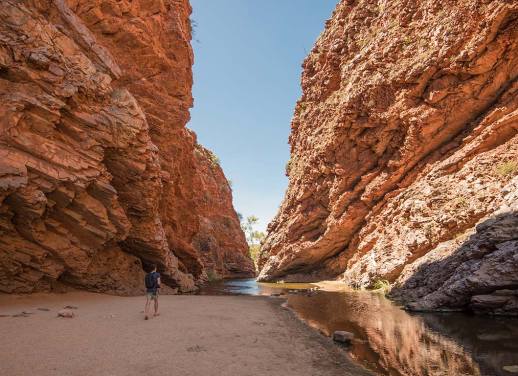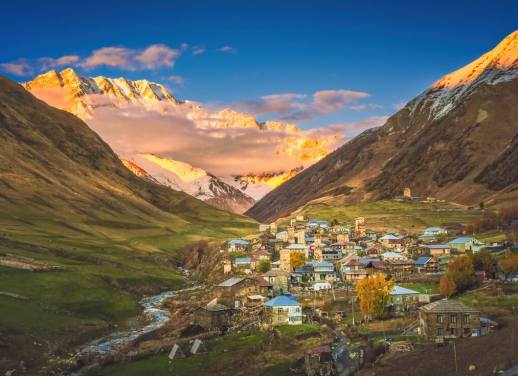
It’s time to pack your bags, grab your sense of adventure and dust off that camera. We’re about to spill the beans on the best tips and tricks to take your travel pics from blah to brilliant.
We’ve gathered all the best advice from our seasoned globetrotting photography experts, whether you’re a casual snapper or an at-home expert. From capturing that once-in-a-lifetime wildlife shot, spontaneous street shenanigans and even some gear advice to help you curate the perfect camera bag, you’ll find something for every photo goal.
All that’s left is to make sure your batteries are charged. Happy snapping!
Meet the experts
At Intrepid, we’re lucky to have a whole bunch of talented photographers on staff who offered up their expertise. Meet Cliff Bielawski, digital creative manager; Leo Cheng, video coordinator; Mimi Field, video editor; Pat O’Neill, senior designer; Vanessa Ondrade, graphic designer and Jamie Bosanko, design lead.
Get wild with wildlife
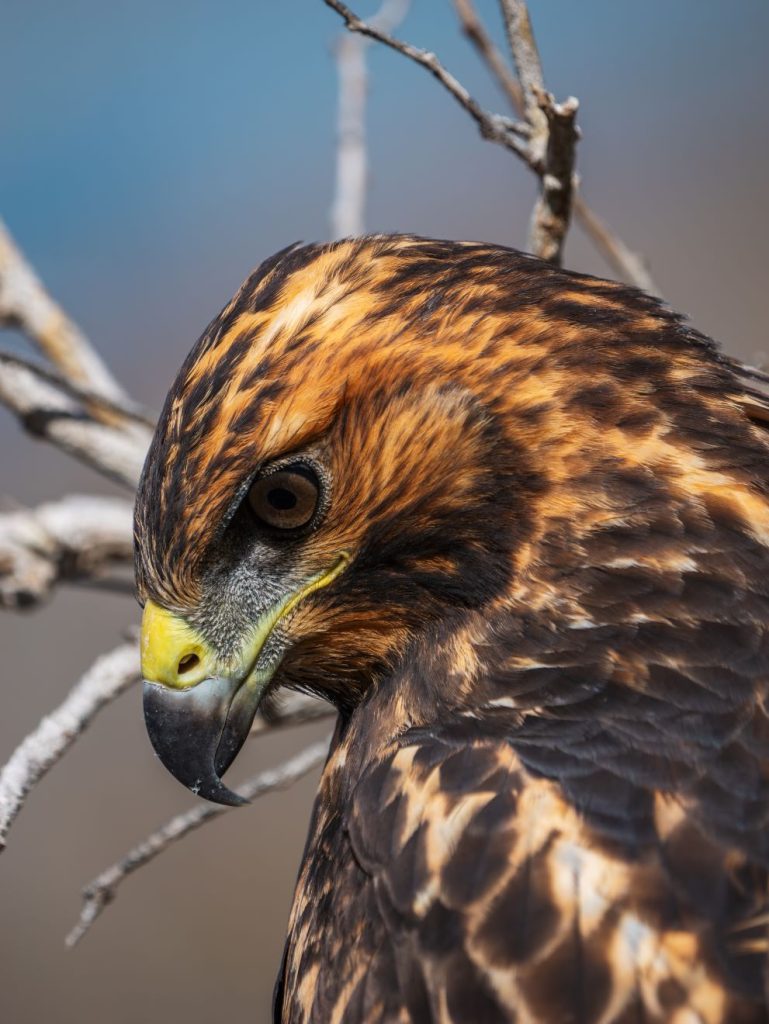
All about eyes – Cliff
When shooting wildlife, the priority should be focusing on the animal’s eyes. Other parts of the animal can go out of focus, but if the eyes are in focus, you’ll have a much more engaging shot.
Patience is a virtue – Cliff
Be patient with wildlife and try to look for more interesting angles. Take some time to observe them for a bit, learn their movements and try to anticipate where they will be – then frame your shot. Wait for them to come into the frame instead of constantly trying to follow them.
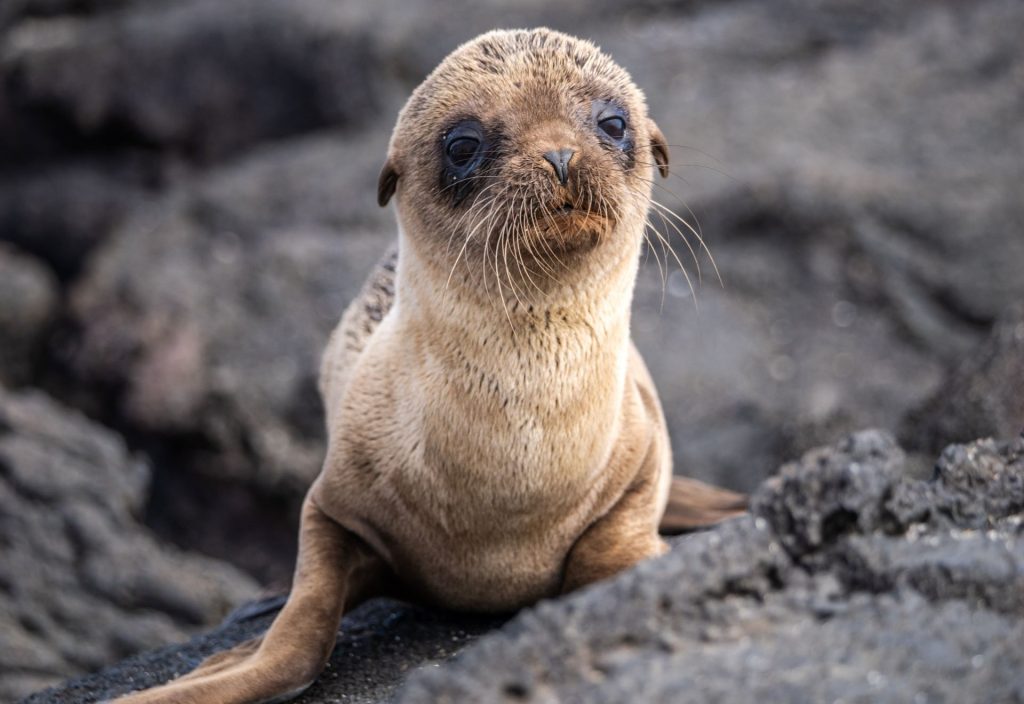
Get up close and personal (from a distance) – Mimi
Many of our trips offer opportunities to capture photos of wildlife. It’s important to note that if you’re aiming for close-ups of animals, a minimum focal length of 300mm is recommended. Anything beyond 400mm is fantastic for achieving even more detailed and captivating shots.
Time to get framed
Bigger is better – Cliff
Ever notice how sometimes photos taken on your phone don’t look as big or impressive as they did in person? To emphasise scale, it’s sometimes better not to shoot wide and instead use a longer lens. Shooting with a longer lens more closely represents how your eyes see the world and having parts of the subject cut off by the frame creates the illusion that it’s too big to be captured by your camera.
Get a new perspective – Cliff
Shoot through something in the foreground to frame your subject for a more interesting angle. This can also make a moment feel more intimate and special because it’s a perspective that maybe no one else has seen before.

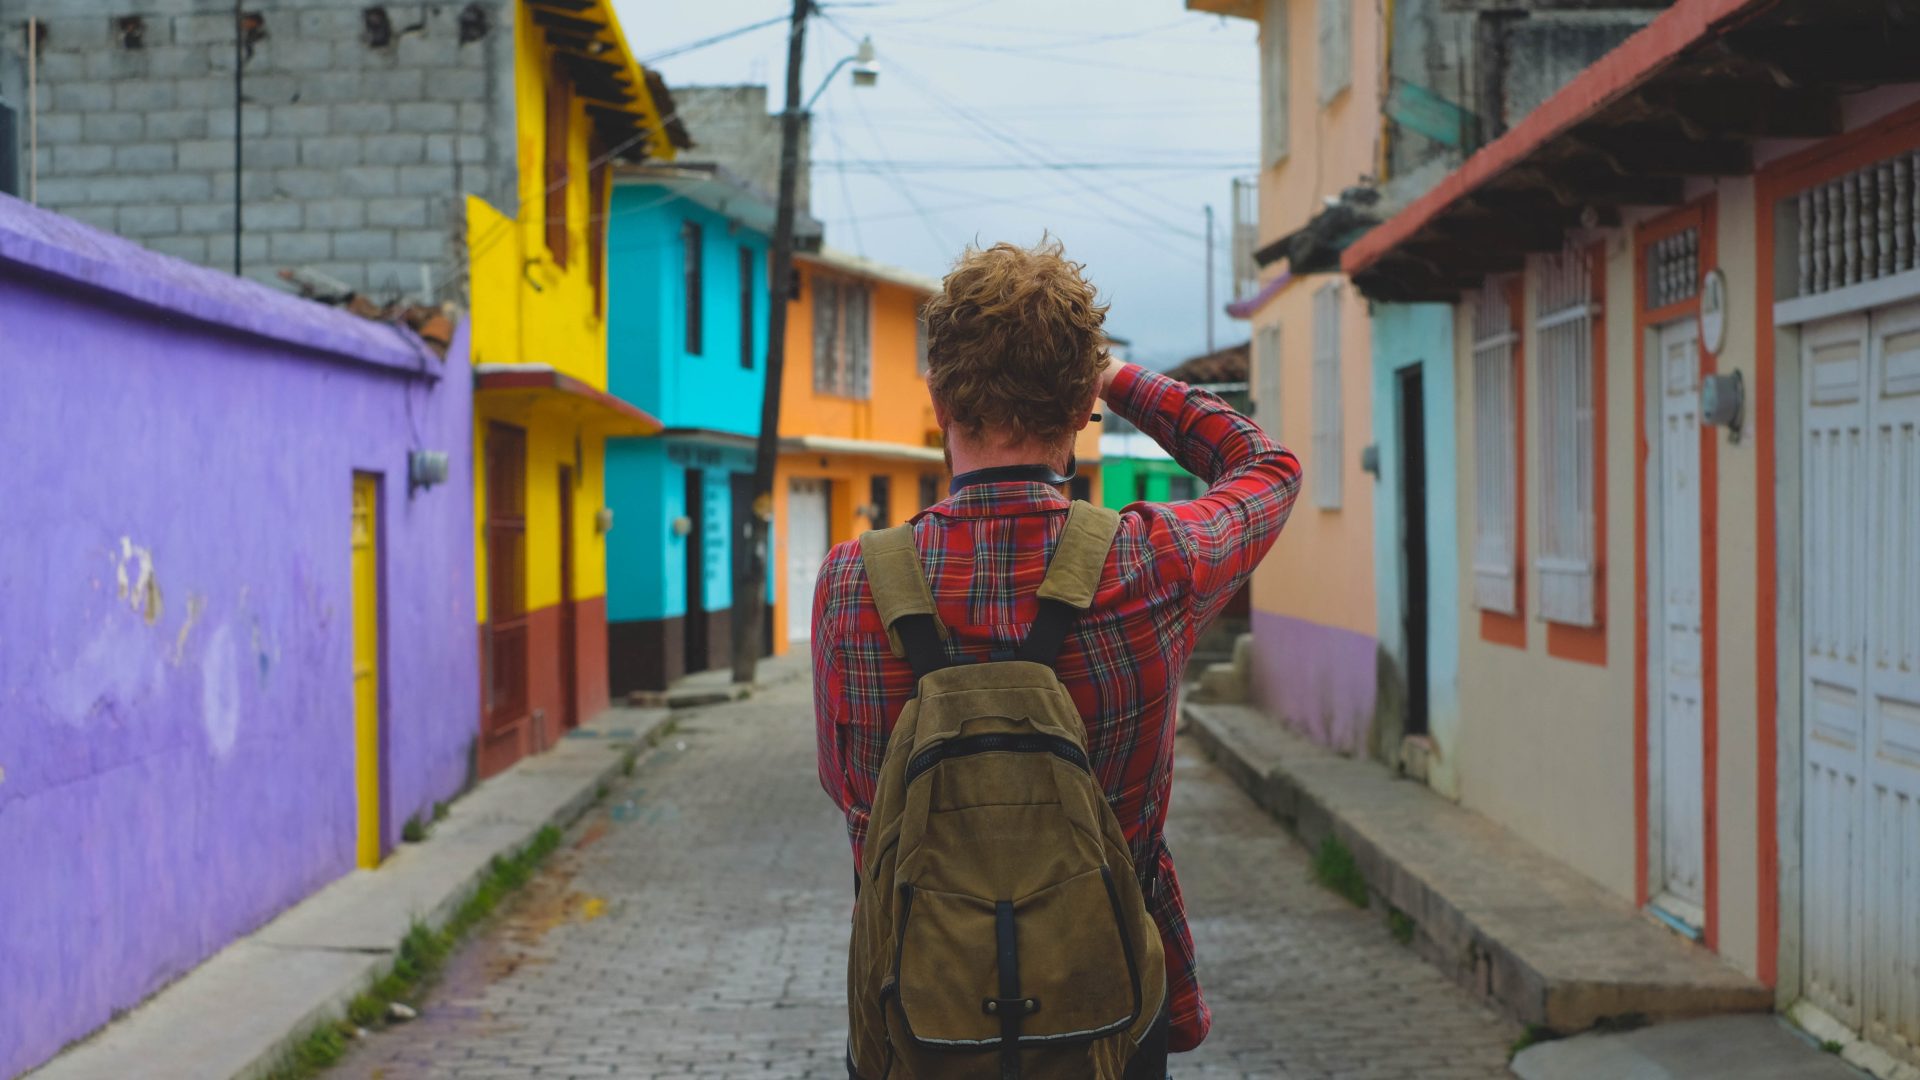
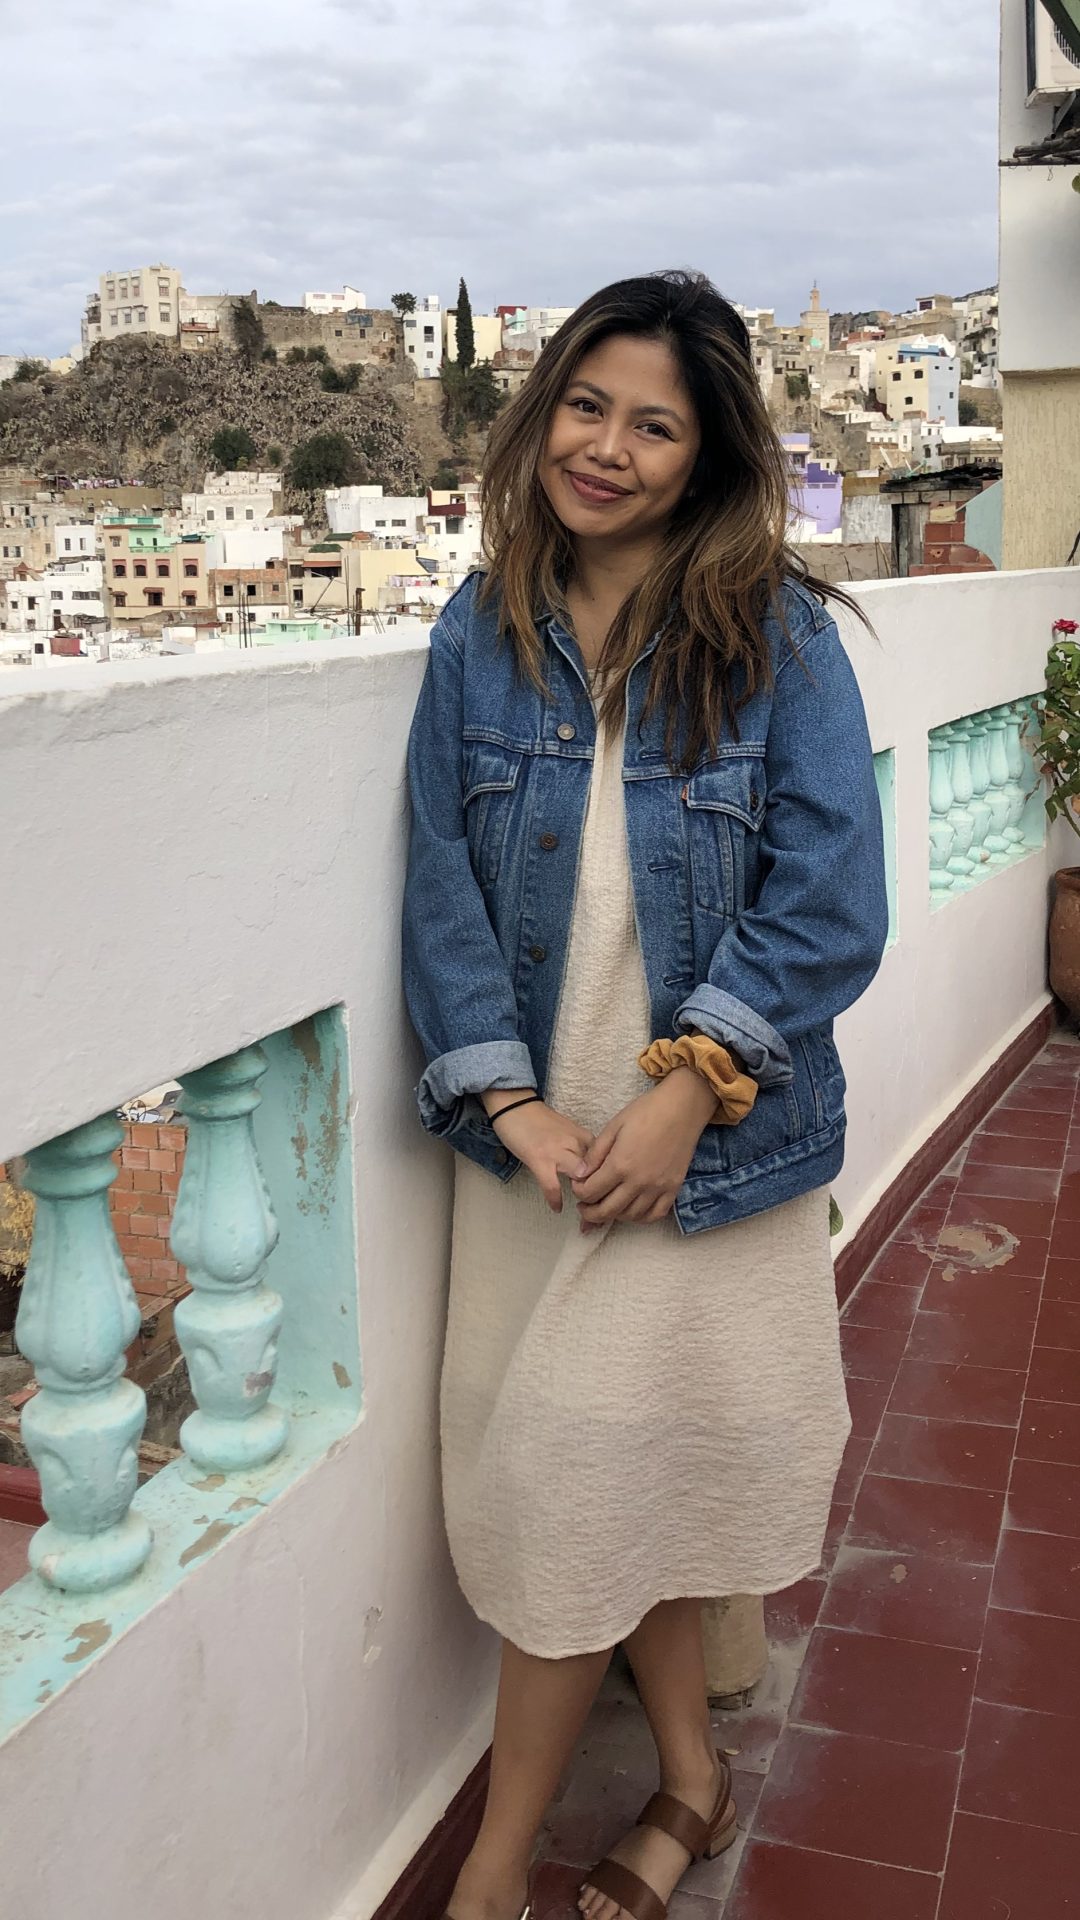
Tell your own tales – Leo
You may have done extensive research before your trip and have a general impression of how a perfect angle can be achieved. Throw these images in your head away once you’re there and have fun exploring your composition and placement to create a story you want to share with your friends.
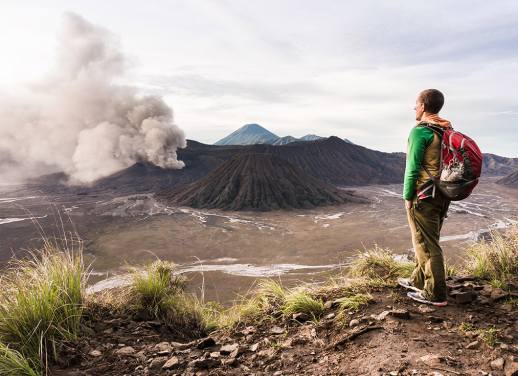
How to travel like an expert
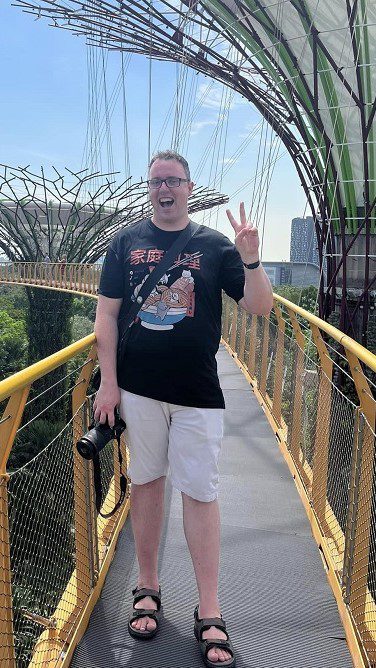
Less is more – Jamie
While it’s good to be prepared for everything, travelling light can be the difference between a great day out and a miserable time lugging a heavy bag. Before you head out for the day, think carefully about what you’ll be shooting that day and which lens would be most appropriate. If you’re not sure, try an all-round mid-range zoom lens to give yourself some versatility.
Travel as lightly as possible – Pat
Don’t bring your whole kit! Study your itinerary and make the call on what lenses you may need. If you’re hiking in the Himalayas or the Andes, you’ll need a wide lens so a 24-70mm would be ideal. If you’re doing a safari, then you want to bring a 70-200mm or something even longer.
Don’t say phooey to your phone
Don’t doubt the smartphone – Pat
These days, the cameras in phones are ridiculously good, and the shots you get out of them will be good enough for however you choose to use them. Just don’t forget to shoot in landscape as well as portrait. These days people tend to blast away in portrait as that’s how most images are shared online. Landscape gives you more versatility and just looks better.
Keep it moving – Vanessa
If you’re using an iPhone to shoot pictures, shoot in Live mode. That way, you can choose different frames from the one shot in case the original looks bad. You could also take short videos and pull stills from there, just try to hold your phone as steady as possible!
Getting the shot
The perfect time is now – Leo
While there’s a general rule of thumb for the ideal lighting or environment to take photos, this should not keep you from pressing the shutter. Don’t let the rain, mist or low light stop you from capturing the photo you want. You may even create unique vibes for your photo from different weather conditions. Besides, photo editing apps are so accessible that you’ll be amazed by what you can do with just a few clicks and slides from your phone.
Get snap happy – Mimi
Capturing multiple shots may seem obvious, but it’s often overlooked. The reality is that taking as many shots as possible in a single moment increases your chances of getting a good pose or capturing the perfect expression. This is particularly crucial in wildlife photography, where it’s impossible to predict the next move of an animal. Having 20 images to choose from will better your chances of getting the shot you were hoping for.
Crouch, crawl, climb! – Jamie
Don’t be afraid to move around while shooting to get the perfect angle. Sometimes, getting a little higher up or closer to the ground is the difference between a good shot and a great shot. Just be absolutely certain you’re being respectful of other people’s space, the local culture and safety. No shot is worth it if you get run over or fall out of a tree!
Have faith – Cliff
Know when you got the shot and move on. It doesn’t mean you need to stop taking pictures of whatever you’re shooting, but once you think you have a good shot move on to experimenting with more creative angles instead of wasting time getting a bunch more of the same.
Early bird catches the shot – Cliff
Get up early. The busiest cities in the world can be completely empty if you get up early enough. The light is also better at this time.
Catching the light – Cliff
Magic hour (about one hour after sunrise and one hour before sunset) is typically the best light, but midday light is ideal when shooting underwater. Water absorbs a lot of light, so the harsher sunlight penetrates more to better light your subject and create more vibrant colours. Try to position the sun behind or perpendicular to your subject for more dramatic shots with stronger contrast and visible light rays. Setting your white balance around 4500K will also help with capturing the blue colour of the water better.


All the gear – some ideas
Keep your camera dry – Cliff
A cheap dry bag is better than no dry bag. If you ever find yourself airborne in a boat, a dry bag increases the chances of you still owning a camera when the boat lands. It’s also a great place to store an extra shirt or towel so there is extra padding when you sandwich the bag between your body and the bottom of the boat as you hold on for dear life.
Pro tip: Fill the dry bag with a little water, clothes and detergent and shake it for easy laundry on the go.
Know your camera – Mimi
Familiarise yourself with your camera to the extent that you could shoot with your eyes closed. This familiarity becomes crucial in capturing moments you don’t want to miss, like the sudden appearance of a rare bird. In such instances, having the ability to swiftly turn on the camera and adjust the settings within a short three-second window can make all the difference.
Silica gel saves the day – Jamie
Travelling somewhere hot and humid? Be careful of moisture! While it won’t necessarily damage your gear, there’s nothing worse than opening your camera bag and discovering you’ve missed the shot because your lens was fogged up from the humidity. This can be easily avoided by putting a couple of small silica gel packs in your camera bag to absorb excess moisture.
Small but mighty – Cliff
If you’re on a budget and want to take wildlife photos, consider buying a camera with an APS-C or Micro 4/3 sensor. These cameras introduce a crop factor on the lenses they use which extends the range. A 400mm lens on a Micro 4/3 camera can be the equivalent of 800mm. Lenses for these cameras are often smaller and more affordable than full frame.
What’s been your favourite place to take photos so far?
Cliff: Galapagos
Mimi: Borneo
Leo: California
Vanessa: Japan
Jamie: Japan
Pat: Nepal
Find the perfect place to put these tips into action on a small group adventure with Intrepid.