This article originally appeared on The Wanderer
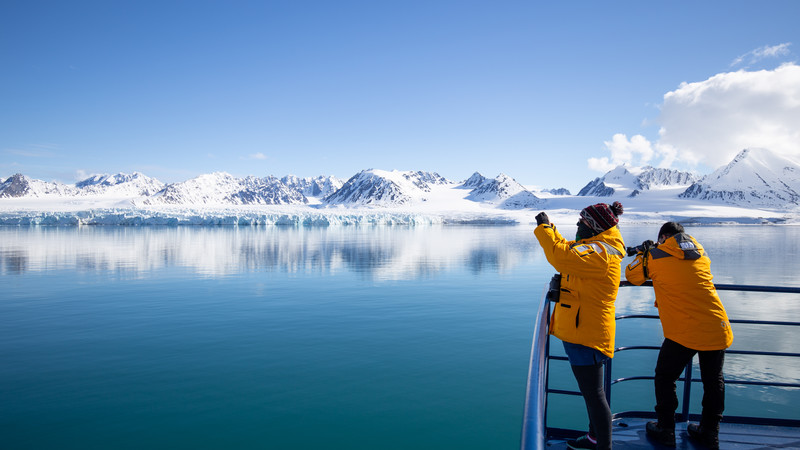
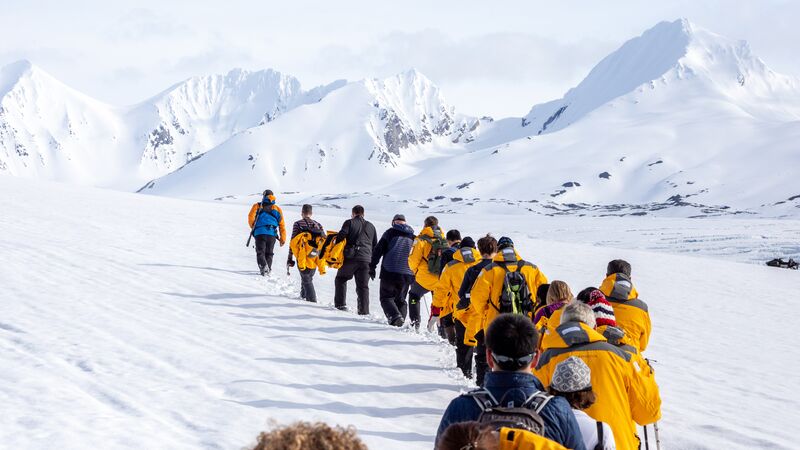
There’s no doubt the polar ends of our planet contain some of the most dramatic and breathtaking environs on Earth. Where else could you encounter giant icebergs drifting along the face of an even larger glacier, or the vast sense of scale offered by a white desert?
There’s even the chance to snap stunning close-ups and behaviour from many wildlife species, some who have barely ever seen humankind. It’s these elements that make polar travel so completely unique, and the opportunities to capture it with your camera, priceless.
 But for all its natural beauty, the Arctic and Antarctica present a unique challenge to photographers shooting in extreme temperatures and inclement weather. For Michael Snedic, a professional wildlife photographer and tutor who has been running photography expeditions across the globe for 16 years, the challenges of polar photography might seem imposing, but they can be overcome with preparation and practice.
‘I love taking people into these parts of the world and teaching them how to get the best possible photos’, says Michael. ‘There are lots of photo techniques I teach my photography students during photo expeditions. It is, however, possible to capture some amazing photos from your trip, simply by following a few basic principles.’
EXPERIENCE THE WORLD’S POLAR REGIONS ON AN INTREPID ADVENTURE – DETAILS HERE
Here are some of Michael’s top photo tips:
1. Keep warm and waterproof
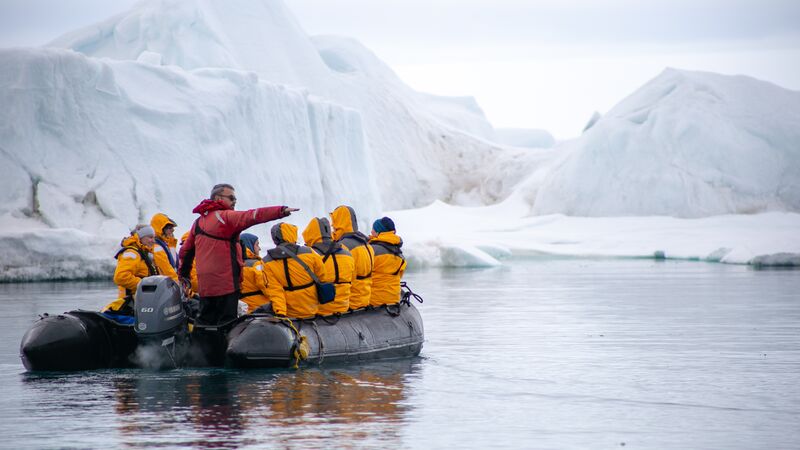
It might be stating the obvious, but the Arctic and Antarctica are incredibly cold, so it’s important to pack correctly to ensure you’re kept warm when exploring either from the ship or on a Zodiac. After all, you can’t operate a camera if your fingers are too cold to touch the dials and press the shutter button!
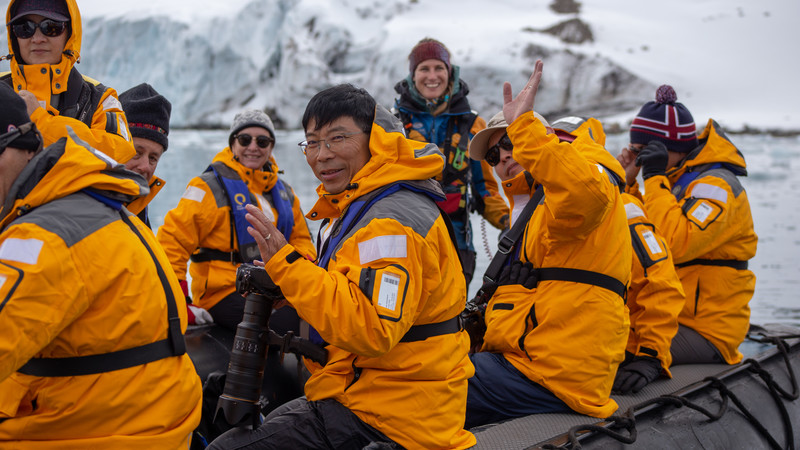 While you should pack thermals (both tops and bottoms) as well as a beanie and waterproof jackets, Michael recommends packing fingerless glove mittens with a flap that can be pulled from your fingers when you need to adjust camera settings. It’s also a good idea to pack extra batteries and a fully waterproof bag or camera backpack that you can fit your camera and lens (or lenses) into. This will protect it from getting wet while travelling on the Zodiac during more turbulent weather and keep it safe from any accidents while embarking or disembarking from the ship.
2. Practice makes perfect
 According to Michael, a greater familiarity with your camera’s settings before you travel means there’s less chance of making a mistake while out in the field. Make sure to look at your settings, learn which work best for you and your level of experience, and then practice, practice, practice.
‘There’s often a bit of downtime on the ship, so it’s always a good idea to go on the back deck and practice’, says Michael. ‘And the more you practice, the easier it becomes. You’ll get some shots that may not work but use them as a learning curve and look at the ones that work and continue to just keep practicing until you achieve better results.’
SUBSCRIBE TO INTREPID’S NEWSLETTER FOR TRAVEL STORIES, COMPETITIONS & MORE
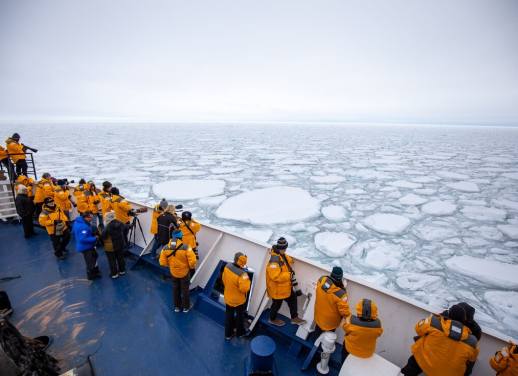
‘One of the most common mistakes photographers make is forgetting about their exposure’, says Michael. When travelling in the polar regions, you’ll be surrounded by plenty of ice, snow and water – all reflective surfaces that project a lot of light into your camera’s sensor. The result of over exposure means images can be completely overblown or washed-out.
‘I’ve seen and heard plenty of stories where people go on these incredible trips but get exposure wrong. So teaching people the best ways to achieve correct exposure is very important.’
The best way to get around exposure is to practice in a variety of different settings and become familiar with the shutter speed, aperture and ISO on your camera. These settings can all help manage the exposure of your photographs. If you’re not familiar or comfortable with this level of detail in your camera, some cameras also have a ‘scene’ mode with pre-filled settings (such as snow or landscape) that may help adjust your exposure.
3. Use a quick shutter speed
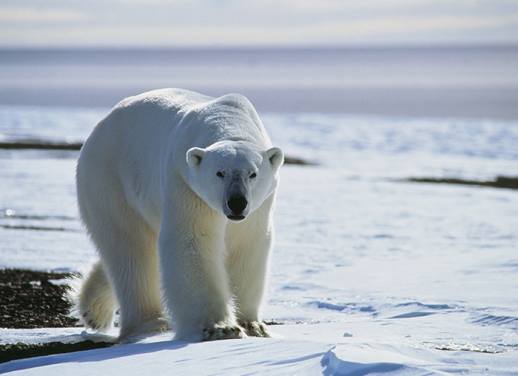
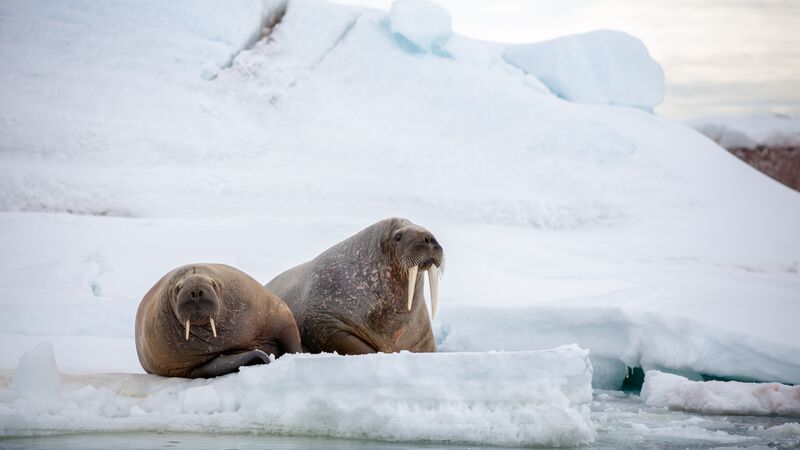 When it comes to capturing ‘action’ or behavioural shots of wildlife, the best advice is to ‘act fast!’ There are also a few things you can do to ensure you capture great wildlife images.
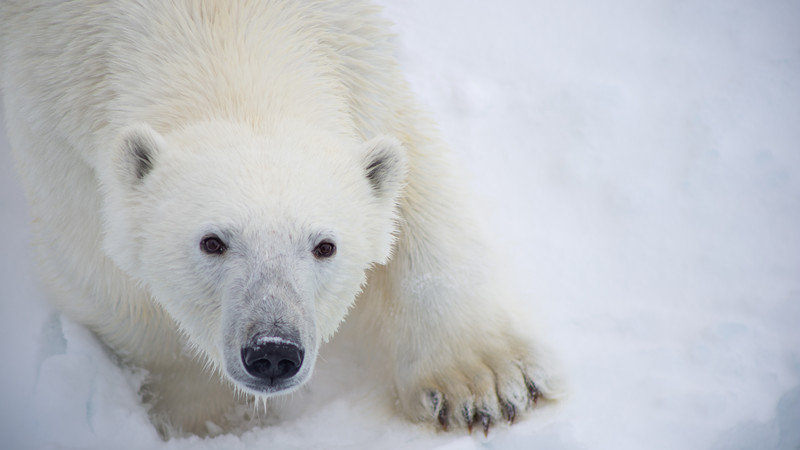
‘Using a wide aperture when you’re taking wildlife shots is a good idea’, suggests Michael. ‘It lets more light into your camera and gives you a faster shutter speed.’ This will help blur out the background and can result in some dramatic portraits. Michael also suggests focusing on the animal’s eyes when you can. Focusing on the eyes means you keep the animal’s face in focus.
 4. Embrace the moment
It can be easy getting lost in taking photos, constantly checking the playback to admire your own handiwork while ignoring the penguins patiently waiting just metres from you. While being ready to snap wildlife at a moment’s notice is crucial, Michael always tell his students it’s also important to remember where you are, and to take a moment to put the camera down and appreciate the incredible environment.
‘I don’t think a lot of people realise, and photos don’t often do it justice until you are here, how incredibly close we can get to the wildlife and scenery. It’s absolutely amazing.’
Now you’ve got the inside word, why not browse Peregrine’s range of Arctic and Antarctic expeditions. You can also learn more about Michael’s WildNature Photo Expeditions here.
All images by Justin Meneguzzi.